Turn Your Smartphone into a KVM and SSH Terminal for Headless Systems
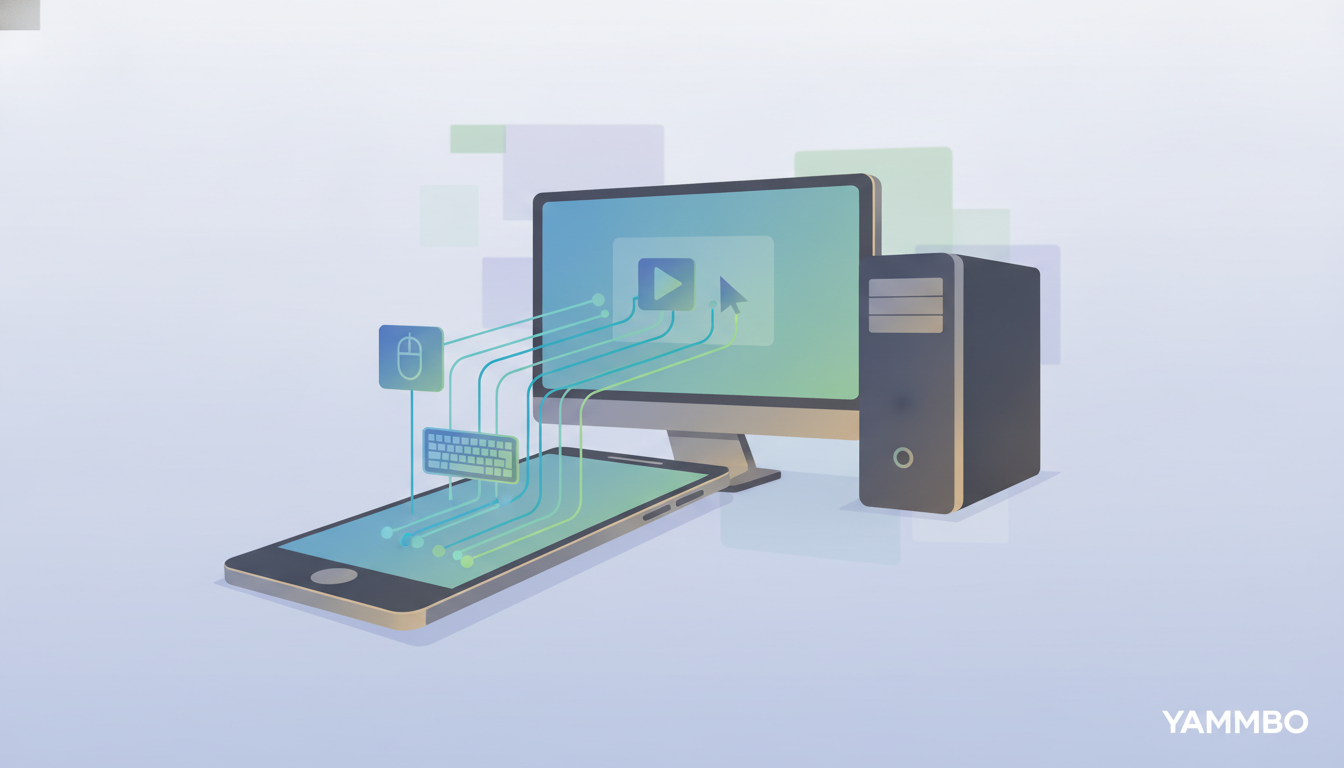
Managing headless devices like Raspberry Pis, servers, or even accessing the BIOS of a PC often requires a dedicated monitor, keyboard, and mouse, along with network configuration. This can be cumbersome, especially when you need quick access on the go. Fortunately, a specialized USB bridge device can simplify this process by turning your smartphone into a versatile KVM (Keyboard, Video, Mouse) and SSH terminal, providing direct control and network access without extra peripherals.
Understanding the USB Bridge Device
At its core, this solution relies on a clever USB bridge device. This small piece of hardware acts as a composite USB device, meaning it presents itself to the target computer as multiple devices simultaneously. Specifically, it emulates a standard Human Interface Device (HID) for keyboard and mouse input, and at the same time, it establishes a USB network bridge. This dual functionality is key to its power.
The HID emulation allows your smartphone to send keystrokes and mouse movements directly to the target machine, even at the BIOS or bootloader level, before an operating system has fully loaded. This is invaluable for troubleshooting, changing boot settings, or performing initial OS installations. The USB network bridge, on the other hand, creates a direct, private Ethernet link over USB, enabling network communication like SSH without needing Wi-Fi or complex network setup on the target.
The primary benefit of this approach is its simplicity and directness. There's typically no software to install on the target machine, as standard HID and USB Ethernet drivers are usually built into modern operating systems and even many BIOS firmwares. This makes it a plug-and-play solution for quick access and control.
Preparing Your Setup
Before you can begin, gather the necessary components. The specific items may vary slightly depending on the USB bridge device you choose, but the general requirements remain consistent.
- A Compatible USB Bridge Device: This is the central piece of hardware. These devices typically come in variants, often with USB-C or USB-A connectors for the target machine, and options for connecting to your smartphone via Bluetooth Low Energy (BLE) or a wired USB connection.
- A Smartphone: An Android or iOS device is required to run the companion application that controls the USB bridge. Ensure your phone has sufficient battery and storage for the app.
- The Companion Application: Download and install the dedicated app for your USB bridge device on your smartphone. This app serves as your virtual keyboard, touchpad, and the control panel for managing the device's various functions, including the network bridge and advanced features.
- A Target Computer/Device: This could be a Raspberry Pi, a server, a desktop PC, or any other system you need to control. Ensure it has a compatible USB port (USB-C or USB-A) for the bridge device.
- Necessary Cables: Depending on your device variant and smartphone, you might need a USB-C to USB-C cable, a USB-A to USB-C cable, or a USB-A to USB-A cable. Always use high-quality cables to ensure reliable connections.
Once you have these items, ensure your smartphone's Bluetooth is enabled if you plan to use a BLE connection, and that the companion app has the necessary permissions to communicate with external devices.
Connecting the Device and Establishing Basic Control
The first step is to establish the physical connection and verify basic keyboard and mouse functionality. This allows you to interact with the target machine's graphical interface or command line directly from your phone.
- Connect the USB Bridge to the Target: Plug the USB bridge device into an available USB port on your target computer. The target machine should recognize it as a new USB device.
- Connect Your Smartphone to the USB Bridge:
- For BLE connections: Open the companion app on your smartphone. The app will typically scan for nearby USB bridge devices. Select your device from the list to establish a Bluetooth connection.
- For wired USB connections: Connect your smartphone to the USB bridge device using the appropriate USB cable. The app should automatically detect the wired connection.
- Launch the Companion Application: Once connected, the app will become your primary interface. It usually provides a virtual keyboard, a touchpad area, and various control buttons.
- Test HID Control: Begin by moving your finger across the touchpad area in the app. You should see a mouse cursor appear and move on the target machine's screen (if connected to a monitor). Type a few characters using the virtual keyboard to confirm text input. This basic test confirms that the HID emulation is working correctly.
This initial setup is crucial for tasks like navigating BIOS menus, selecting boot options, or performing initial setup steps on a fresh OS install, where network connectivity might not yet be available.
Setting Up the USB Network Bridge for SSH
Beyond basic input, the USB network bridge functionality is where this device truly shines, enabling direct SSH access without relying on Wi-Fi or complex Ethernet configurations. The device typically uses standard USB Ethernet protocols like CDC-ECM for Linux and macOS targets, and potentially RNDIS for Windows.
- Activate the Network Bridge: Within your smartphone's companion app, locate the option to enable or activate the USB network bridge. This often involves a toggle switch or a dedicated button. Once activated, the USB bridge will present itself as a network adapter to the target machine.
- Understand IP Addressing: The USB bridge typically assigns fixed, private IP addresses to both the smartphone and the target machine. A common scheme is for the smartphone to be assigned
192.168.11.1and the target machine192.168.11.2. This eliminates the need for DHCP and ensures a direct, predictable connection. - Verify Network Connectivity on the Target: While usually automatic, you can optionally verify the network interface on the target machine. On Linux, for example, you might run
ip aorifconfigto see a new interface (e.g.,usb0oreth1) with the assigned IP address. - Connect via SSH from Your Smartphone: Open a terminal emulator app on your smartphone. Most modern smartphones have excellent SSH client apps available. Use the assigned IP address to connect to your target. The command will typically look like this:
Replacessh username@192.168.11.2usernamewith the actual username on your target machine. You will then be prompted for the password.
Upon successful login, you will have a full SSH terminal session to your target machine, allowing you to execute commands, manage files, and administer the system as if you were directly connected. This is incredibly powerful for managing headless servers or embedded systems remotely.
Leveraging Advanced Features (Optional)
Many USB bridge devices, through their companion apps, offer advanced features that further enhance their utility. While these are often optional, they can significantly streamline complex tasks.
- Compose & Send: This feature allows you to draft lengthy commands, API keys, or license codes on your smartphone's familiar keyboard interface. You can review the text before sending it as a series of rapid keystrokes to the target machine. This avoids typing errors and speeds up data entry for complex strings.
- Macros: For repetitive tasks, macros allow you to record or define sequences of keystrokes and commands. These can then be triggered with a single tap in the app, automating common operations like restarting a service, running a diagnostic script, or logging into multiple systems.
- Presentation Mode and Gamepad Mode: Some devices offer specialized modes. Presentation mode can turn your phone into a remote control for presentation software (e.g., advancing slides), while gamepad mode allows you to use your phone's sensors and screen as a virtual game controller for emulators or games on the target.
- AI Agent Mode (Experimental): An emerging, experimental feature in some devices is an AI Agent Mode. This allows you to provide a high-level goal (e.g., "check log files for errors," "restart web server") in natural language. The device, leveraging an integrated or external Large Language Model (LLM), can then propose a sequence of terminal commands to achieve that goal. Crucially, each command is presented for your review and approval before execution, giving you control while benefiting from AI assistance. This feature is often in early development and may require an LLM API key.
Experimenting with these features can unlock new levels of efficiency and control, making the USB bridge device an even more indispensable tool for system administrators and hobbyists alike.
By transforming your smartphone into a versatile KVM and SSH terminal, these USB bridge devices offer an efficient and portable solution for managing and troubleshooting computers, especially headless systems. This approach eliminates the need for bulky peripherals and complex network configurations, putting powerful control directly in your pocket. To explore more about innovative tech solutions and tools, visit Yammbo.com.